
Getting Started
Welcome to the discohook documentation. Whether you're new to discord bot development or looking for a more efficient way to handle interactions, this guide will walk you through the installation, configuration, and basic usage.
Creating an Application
If you already have a Discord application and bot set up, you can skip this section.
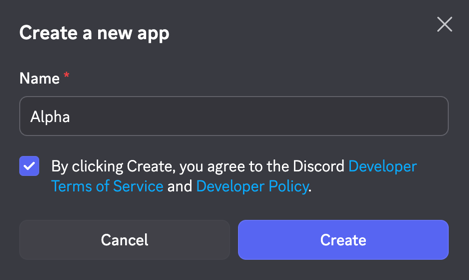
- Go to the Discord Developer Portal and click on "New Application".
- Enter a name for your application and click "Create".
Gathering Required Credentials
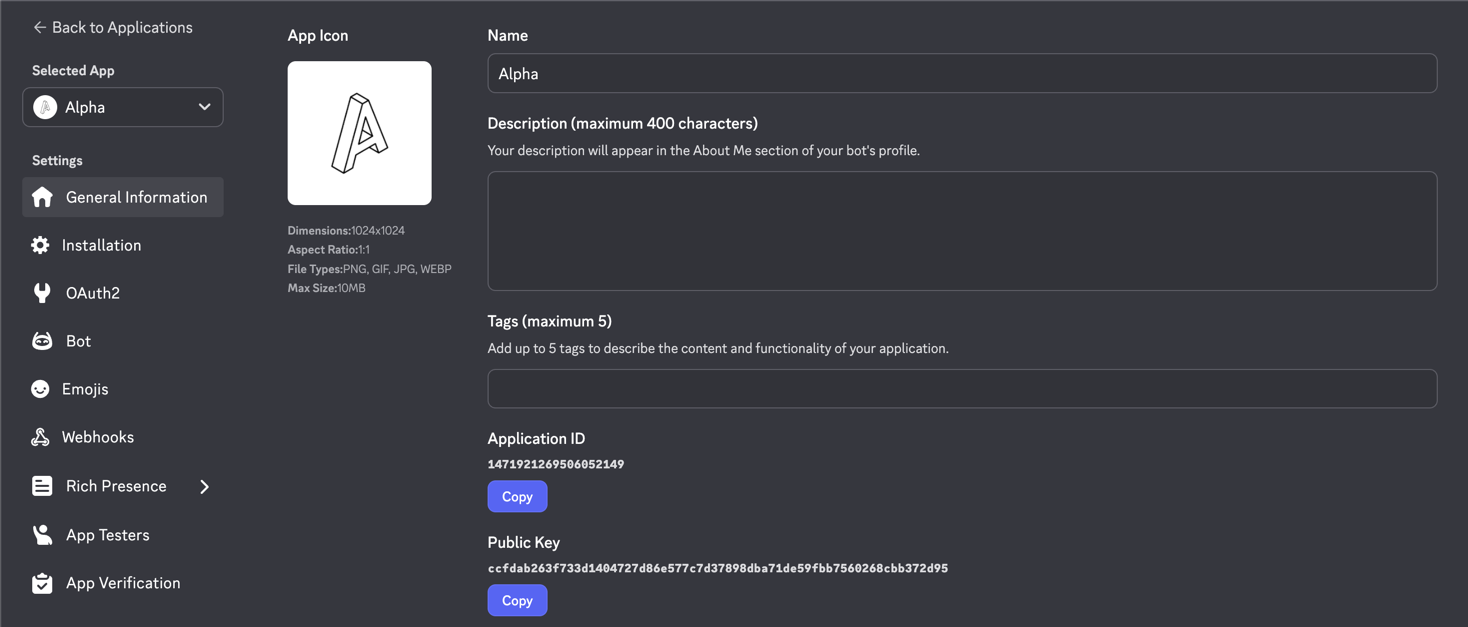
- Choose your application and navigate to the
General Informationtab on the left sidebar. - Copy the
Application IDandPublic Keyand save them for later use.
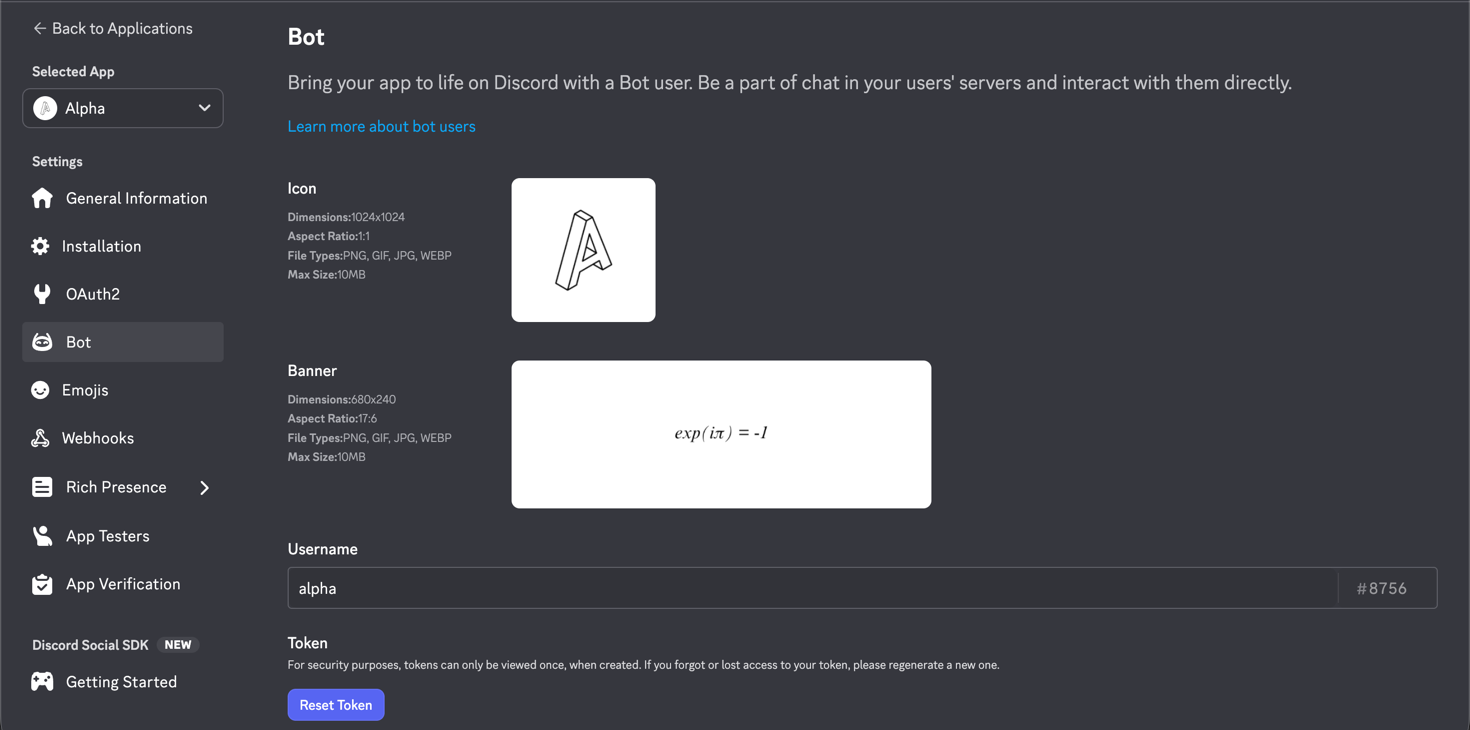
- Navigate to the
Bottab at the left sidebar and click onReset Tokento generate a new bot token. Copy the token and save it for later use.
Installation
Install via pip (Recommended)
pip install discohookor
Install from source
pip install git+https://github.com/jnsougata/discohook.gitEnvironment Configuration
Create a .env file in the root of your project and add the following environment variables:
DISCORD_TOKEN=<your_bot_token_here>
PUBLIC_KEY=<your_public_key_here>
APPLICATION_ID=<your_application_id_here>
APPLICATION_PASSWORD=<your_application_password_here>
Basic Usage
Import the library and initialize the client:
import discohook


app = discohook.Client.from_env()  # This will automatically read the environment variables from the .env file and initialize the client.
Creating a Slash Command
@app.register
@discohook.command.slash()
async def ping(i: discohook.Interaction):
    """
    A simple slash command that responds with "pong!" when invoked.
    """
    await i.response.send(discohook.TextDisplay(
        markdown="pong!"
    ))
The command name is automatically derived from the function name (
pingin this case), and the command description is taken from the function's docstring if not explicitly provided.
Error Handling
You can add error handlers for both interaction errors and server-side exceptions.
@app.on_interaction_error()
async def interaction_error_handler(i: discohook.Interaction):
    await app.send("<channel_id>", f"Error: {i.error}")  # send error to a channel in development server.

@app.on_error()
async def server_error_handler(request, error: Exception):
    # (request) is starlette.requests.Request object representing the incoming HTTP request that caused the error.
    # (error) is the error occurred on the server side, which is not related to any interaction.
    await app.send("<channel_id>", f"Error: {error}")  # send error to a channel in development server.
The
on_interaction_errorhandler will catch any exceptions that occur during the processing of an interaction, while theon_errorhandler will catch any server-side exceptions that are not related to interactions. You can customize the error handling logic as needed, such as sending error messages to a specific channel or logging them for debugging purposes.
Running the Bot
Different serverless platforms have different ways to run the application, you can refer to the documentation of your chosen platform.
To run your bot locally with tunneling, you can use any ASGI server like
uvicornorhypercorn. For example you can run the following code to start the server locally:
if __name__ == "__main__":
    import uvicorn
    uvicorn.run(app)
⚠ Must Do's
There are few more shenanigans you have to do to make the command work.
1. Setting up the Interaction Endpoint URL
You need to deploy your bot to a serverless environment (ex: AWS Lambda, Google Cloud Functions, etc.) or any hosting service, and you will get a
public URLfor your bot. You can also use tunnels like ngrok or cloudflared to get a public URL for your local development server.
For example if your URL is https://my-bot-url.com, then you need to set the Interaction Endpoint URL in your Discord Developer Portal to https://my-bot-url.com/interactions.
2. Registering Commands
After setting up the endpoint URL, you need to sync your commands with Discord. After you set up the endpoint URL, you can register your commands just by visiting the dashboard at https://my-bot-url.com/api/dash.
It will ask you to enter a password, which is the
APPLICATION_PASSWORDyou set in the environment variable if you are visiting the dashboard for the first time.
3. Testing the Command
After syncing the commands, you can test the command in your Discord server. Just type /ping in any channel where the bot has access, and you should see the response "pong!".
🎉 Congratulations! You've successfully set up your first slash command using discohook.
Need Help?
If you have any questions or need further assistance, feel free to join our support server or check out the GitHub repository.